Inviting and Creating Suppliers

Inviting suppliers to build profiles in your database streamlines sourcing, facilitates efficient communication, and help accelerate decision-making. This collaborative approach not only saves time when looking for supplier information, but seamlessly brings your database into the large network of suppliers Reposite provides to continue sourcing.

Inviting Suppliers

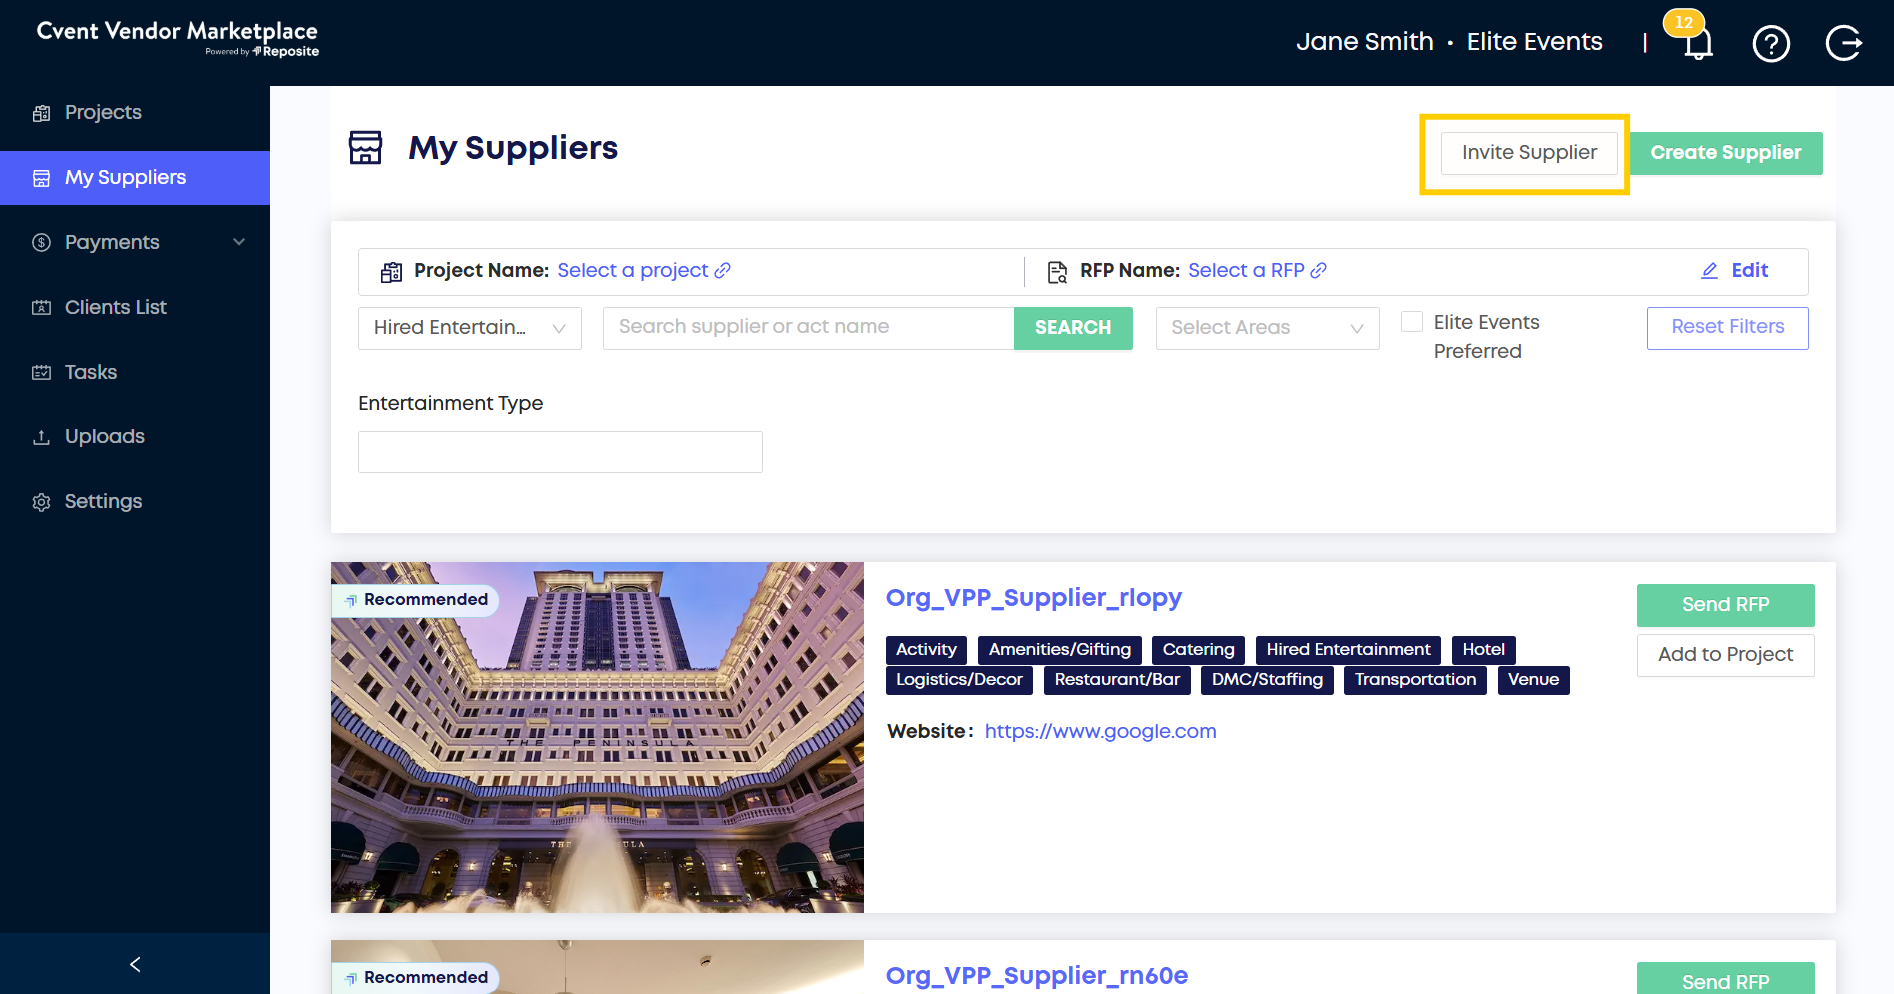
The “My Suppliers” tab enables you to send pre-formatted email invitations to suppliers that are not yet registered with Reposite to join and create a profile.

  • Below is an example of a successfully sent email invite

Example invite email to show how it asks suppliers to onboard with Reposite.

How to Invite a Supplier

Step 1. Click the “My Suppliers” page in the left side navigation.

Step 2. Click on the Invite Supplier button found at the top of the “My Suppliers” page. A pop-up window appears.

Step 3. In the pop-up window, enter the email address of the supplier which you would like to invite. Click Send Invite. Another pop-up window appears.

Supporting image to show the invite supplier modal and empty field to add the email address of preferred receiver.

Step 4. Enter the supplier’s first name, last name, and organization name into the pop-up window. All three fields are required in order to send an invite. Click Send to successfully send the invite to the supplier.

Supporting image to show additional model for inviting a supplier to Reposite.

Creating Supplier Profiles

Creating profiles within Reposite will help to centralize and organize all your supplier contacts, ensuring easy accessibility and streamlined management for an efficient planning process.

Note: Supplier profiles that you create are not uploaded for all planners on Reposite to see. They will not appear in other planners' searches, and exist purely for the use of the planner account that created the profile.

Image showing that clicking the green Create Supplier button in the top right will begin the process of creating a supplier in your database.

Step 1. Click the Create Supplier button found at the top of the “My Suppliers” page. A new menu appears at the right side of your window.

Step 2. In the new menu, enter the supplier’s general information into the text fields. Only the supplier’s company Name is required. Click the Next button at the bottom of the menu. A new menu for selecting t the supplier’s served categories appears.

Step 3. Use the drop-down menu to select the supplier’s served categories. Each category will appear below.

Step 4. For each selected category, you may enter a description and select a “type”. Multiple category types may be selected on each.

Supporting image to show that you add your category (or categories) in the dropdown and then for each, you can add a description and a type in the input fields.

Step 5. Click the Save button at the bottom of the menu. A new menu for uploading media and files appears.

Step 6. Click the Add Files rectangle to add files to the supplier’s profile. A pop-up window appears. In the pop-up window, select the folder which you’d like the file to be uploaded to, and the type of file you’d like to upload.

Supporting image to show clicking into the add image area will allow you to upload files to this profile.

Step 7. Click the Upload Custom File button that appears after selecting a folder and file type. A file browser appears.

Step 8. Select your desired file and click the Save button to finish uploading your file to the supplier profile.

Step 9. Click the Next button at the bottom of the menu. Enter the supplier’s contact information into the corresponding text fields. Only a first name, last name, and email address are required to add a contact to the supplier’s profile.

Step 10. Click the Finish button at the bottom of the menu. Your supplier profile has now been uploaded!

Up Next

We’ve got you covered – simply request a demo and a member of our team will reach out to answer any questions you may have.

Need additional help?